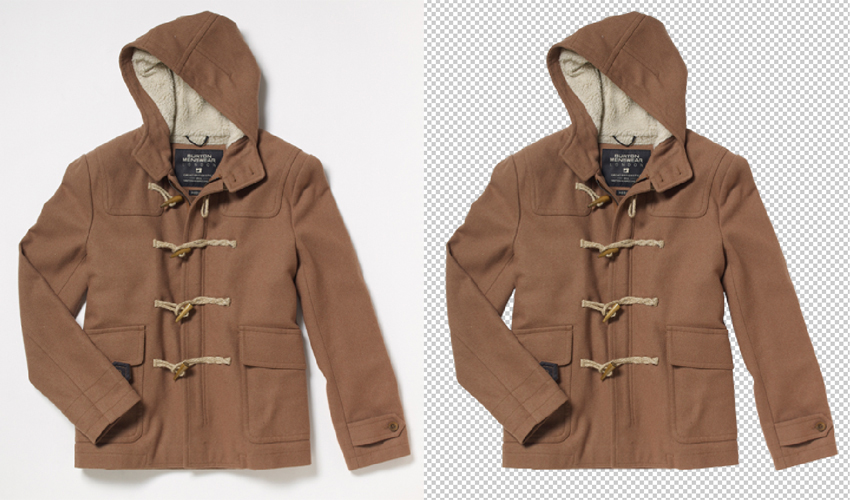
A clipping path is basically a vectorized shape which is used in Photoshop to separate subject of an image from its background. Yap, it’s true that there are a wide range of options available for isolating an image object from its background, but at Clipping Path Family we always prefer using handmade clipping paths to any other options. We always prefer making manual clipping path because a clipping path is least sensitive to errors and results in a nice edge. In addition, a clipping path works really great with some other photo editing applications like Illustrator, Quark and Indesign. We, at Clipping Path Family, always employ specific methods while making clipping path in particular images.
How to Draw Clipping Path:
- In order to create a path, you at first have to open the Path Window. In case you are a beginner user and don’t find the Path Window, go to the “Windows” menu at the top bar of your Photoshop and select “Path”
- Then choose “New Path” option from the top right of your chosen Path Window.
- Now select the Pen Tool from the Photoshop toolbar.
- At this stage, you have to start the path from several pixels inside by zooming in to the image object and then click.
- Now place another anchor point inside the image object to create a line. The line can be shaped like curve simply by holding the mouse button pulling the anchor point. In case you want to create a straight cornet at the anchor point, just hold the ALT button from your keyboard after placing the anchor point.
- And the path is completed. To create another path, repeat the same process from the beginning.
At Clipping Path Family, we usually do layer masking before delivering images to our clients in order to preserve the original background if the image format supports.
Converting a Clipping Path into a Layer Mask:
If you want to convert a clipping path into a layer mask and follow the given instructions:
- Go to the “Path Window” and choose the “Path to Selection” option from the bottom of the window
- Then you have to expand the selection by two pixels. For this, choose “Select” from the top bar and click on “Modify” and then “Expand”
- At this final stage, select the correct layer and choose the “Selection to layer mask” option at the bottom of the window.